As an Amazon Associate we earn from qualifying purchases.
A bad tip of a pool cue spoils the game. Therefore, you shouldn’t use a cue with a worn-out tip for any tournament. And possibly, you might not find a cue repair guy near you at the very moment.
However, you can always seek to replace your cue tip on your own, easily and instantly. Just go through this article till the end.
How To Replace A Pool Cue Tip
A cue tip supposedly lasts for around six months with consistent use. If your tip is too hard, then it might last for a little more time. However, softer tips comparatively need more care.
Obviously, when a cue tip is used for a prolonged period, it will lead to wear and tear. So, when it crosses the 1mm ferrule mark, you should replace it. A poor cue tip will result in missing shots, sliding through the cue ball, and more.

Therefore, instead of looking for a cue tip repair person, learn how to replace a pool cue tip. And, this guide is about to help you with the same.
Step 1: Get The Essentials
- You will need a new and fresh cue tip.
- Get a sharp razer or cutting tool for the purpose.
- Appropriate glue for replacing the new cue tip over the pool stick surface.
- Sandpapers.
- A masking tape.
- A tip clamp.
Step 2: Remove The Old Worn-out Cue Tip
- Take the sharp razer or cutting tool.
- Now, carefully cut through the old tip.
- Ensure that you have removed all remnants of the old tip.
- Now, slice off the extra glue stuck on the ferrule.
- While slicing off the glue, make sure you do not damage the ferrule.
- The ferrule is essential for holding onto the new cue tip.
Step 3: Rub The Sandpaper Over The Ferrule
- You will need sandpaper for this purpose.
- Rub it lightly over the ferrule’s top.
- It will smoothen the surface to allow a new tip to settle over it.
- Now, wrap the ferrule with masking tape.
- While doing that, make sure the ferrule’s top is flushed with the top of that tape.
- It is done to ensure that the ferrule stays protected from excessive glue.

Step 4: Fix The New Cue Tip Onto The Stick
- Cross check to see whether the ferrule’s top is smooth and clean.
- Now, go ahead and install your new cue tip.
- Prefer to get a replacement cue tip of a size similar to that of the old one or a slightly bigger one.
- American cue tips are preferable, as they are around 13 or 14mm.
- Go with super-glue or any gel-based glue for sticking the new cue tip.
- Take a small drop of that glue on the sticking side of the new cue tip.
- And pour another drop on the stick surface.
- Now, place it accurately, and position it over the stick.
Step 5: Settle The New Cue Tip Over The Ferrule
- After gluing the tip and stick, let them firmly settle for some time.
- You need to give a manual and firm press over the tip for around 10 minutes.
- If you don’t want to use your hands for the purpose, then a tip clamp is useful for settling the glue.
- Make sure the tip doesn’t move away from its place when fixing the tip clamp.
Step 6: Check Whether It Is Securely Glued Or Not
- Take a closer look to see if the tip is firmly secure over the ferrule surface.
- Test it by placing the tip between your fingers.
- If the glue is not appropriately settled and you feel some movements on your tip, start again from the beginning.

Step 7: Remove The Masking Tape & Trim The Edges
- Take off the masking tape from the ferrule.
- Wipe the excess glue from the surface.
- The new cue tip is installed, and you need to give the finishing touch.
- Trimming is essential to round off the cue tip.
- Use a razor blade for trimming purposes.
- Place the cue on the floor in a way that the tip touches the floor.
- Use the razor blade slowly and gently to remove the excess sides of the cue tip.
- Remove slowly, without slicing out too much of the cue tip at once.
- Continue the process until the tip meets the diameter of the ferrule.
- Now, use low-grit sandpaper for flushing the ferrule and cue tip with one another.
Step 8: Give Final Touches To The New Tip
- Dab your fingers in the water.
- Touch and feel the sides. It will add moisture to the sides of the cue tip.
- Now, use a leather piece and burnish the cue tip sides.
- Now, you are all set to play your tournament with your amended pool cue stick.
In this YouTube video, you can see a guy replacing the cue tip without using any special tools.
Frequently Asked Questions
What Is The Common Mistake That I Should Avoid While Playing Pool?
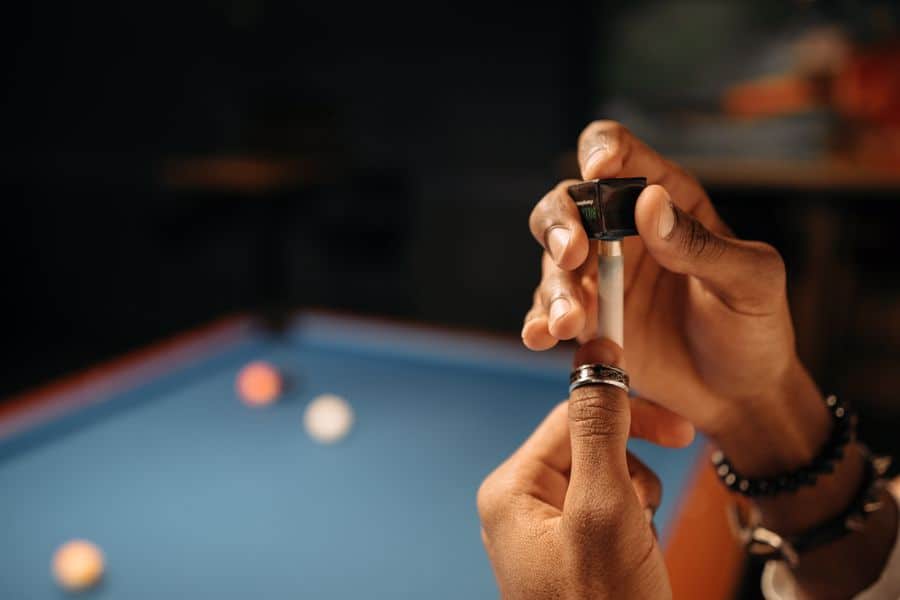
One of the major mistakes that most pool players make is that they don’t chalk the tip before every shot. If you don’t chalk the cue, you have higher risks of missing the shots, and eventually, you will lose the game. Therefore, to use the tip perfectly, make sure there is enough chalk on its surface before taking the shot.
To know more about the mistakes that you should avoid while playing pool, follow this article.
Do The Environmental Conditions Hamper The Cue Tip?
Yes, too much moisture, or dry temperature, can negatively affect the tip of your cue stick. In such environmental conditions, you might have to change the cue tip even before six months. Therefore, it is better to store cue sticks in cue cases when they are not in use.
Conclusion
A pool player is aware of how important a perfect cue stick is for winning the game. Moreover, compromising the game with a worn-out cue tip is not the correct approach to play. This is a risk that needs to be avoided at any cost.
Therefore, learning how to replace cue tips is something that every pool player should know.